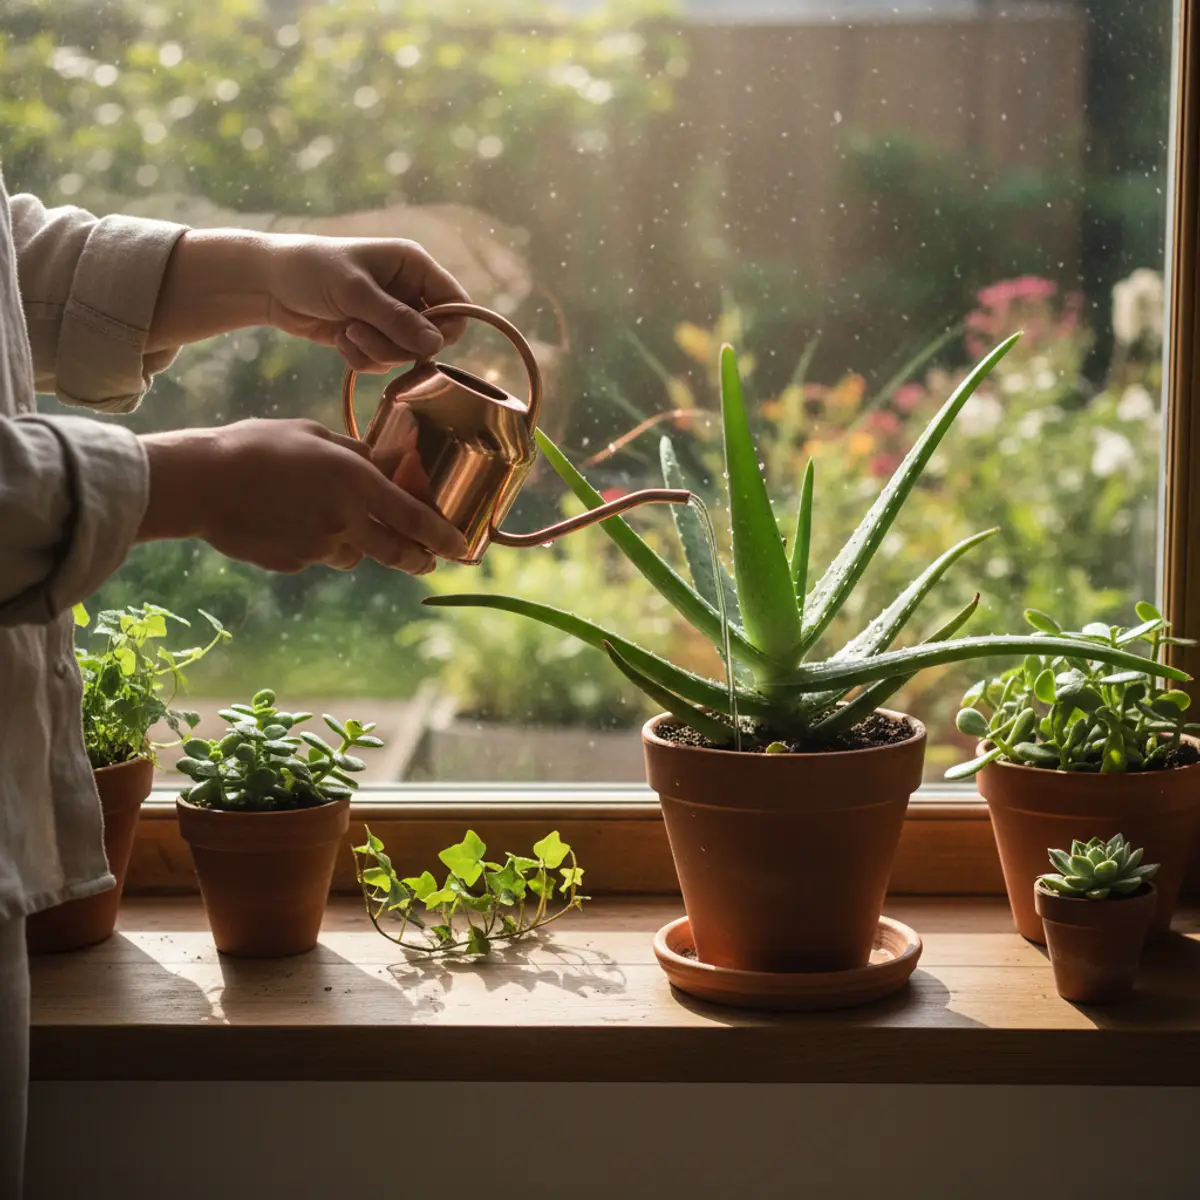
How to water aloe vera: frequency and practical tips
When and how to water your aloe vera through the seasons. Frequency, amount, signs of overwatering and tips to avoid mistakes.
If there is one thing that kills more aloe vera plants than anything else, it is watering. Not too little water — too much. I lost my first aloe vera exactly this way: I watered it every three days, like my other houseplants. Within six weeks, its leaves had become soft and translucent, and the roots had rotted. The plant was doomed.
What many people do not realise is that aloe vera is a succulent native to semi-arid regions. Its thick, fleshy leaves are genuine water reservoirs. This plant is naturally equipped to survive drought — not wet feet.
So how should you water it correctly? That is what we are going to look at in detail, season by season.
The golden rule: use the finger test
Before watering, push your index finger about 3 to 4 cm into the potting mix. If the soil is dry to that depth, water. If it is still damp, wait.
It really is that simple. Forget rigid schedules such as “water every 7 days”, which you see everywhere online. The ideal frequency depends on so many factors — temperature, light, pot size, type of potting mix and ambient humidity — that no fixed schedule can work universally.
The finger test adapts to every situation. If you are in the middle of a heatwave and the potting mix dries in 4 days, water every 4 days. If it is winter and the mix takes 3 weeks to dry, wait 3 weeks. The plant tells you what it needs — you just have to listen.
Watering frequency by season
Even though the finger test remains your compass, these seasonal guidelines will give you a starting point:
Spring (March–May): waking up
Aloe vera comes out of its winter rest and starts growing again. Gradually increase the watering frequency.
- Typical frequency: every 10 to 14 days
- Sign that it is the right time: new leaves begin to grow in the centre of the rosette
- Tip: this is the ideal season to repot or take cuttings from your aloe vera if needed
Summer (June–August): full growth
Heat and light speed up evaporation. Aloe vera is fully active and needs more water than in winter — but “more” does not mean “a lot”.
- Typical frequency: every 7 to 10 days
- During a heatwave: you can reduce the interval to 5–6 days if the potting mix dries quickly, but always check with the finger test
- Aloe vera outdoors: if your plant is outside in summer, rain may be enough. Be particularly careful during long rainy periods — stagnant water in the saucer is the number-one enemy
Autumn (September–November): slowing down
Days get shorter and growth slows. Gradually reduce watering.
- Typical frequency: every 14 to 21 days
- Watch for: switching on household heating can dry the air. Aloe vera tolerates dry air well, but if the leaves seem to curl inwards, an extra watering may be needed
Winter (December–February): resting
This is the season when most mistakes happen. Aloe vera is almost dormant in winter and needs very little water.
- Typical frequency: every 21 to 30 days — yes, once a month may be enough
- Ideal temperature: between 10 and 15°C. If your plant is in a room heated to 22°C, it may need a little more water because evaporation is higher
- Common mistake: watering as in summer because “the plant is near the radiator and the soil dries quickly”. Even if heating makes the potting mix dry quickly, the plant does not need that water. It is resting. Leave it alone.
How to water correctly: the technique
Frequency is one thing. How you water is another. Here is the right method:
Top watering (the classic method)
- Use a fine-spout watering can or a jug.
- Water the surface of the potting mix slowly and evenly.
- Avoid wetting the leaves, especially the centre of the rosette — water sitting in the plant’s centre causes rot.
- Water until it starts to run out through the drainage hole.
- Empty the saucer 15 to 20 minutes after watering. This is crucial. Never leave your aloe vera standing in leftover water.
Bottom watering (the preferred method for many growers)
This method is excellent for aloe vera because it lets the roots absorb water gradually without wetting the base of the leaves.
- Fill the saucer or a tray with water.
- Place the pot in it and let the potting mix absorb water by capillary action for 20 to 30 minutes.
- Remove the pot from the water and let it drain.
- Empty the saucer.
When to use this method: if your potting mix is very free-draining, with lots of perlite or sand, top watering may pass through the pot too quickly for the roots to absorb it. Bottom watering solves this problem.
What water should you use?
Aloe vera is not very demanding about water quality, but a few points are worth noting:
- Tap water: suitable in most cases. If your water is very hard, let it stand for 24 hours in an open container before watering. The chlorine will evaporate and some of the limescale will settle.
- Rainwater: ideal. Slightly acidic and chlorine-free, it is closest to the water aloe vera would receive in nature.
- Room-temperature water: always. Never water with icy water, especially in winter — thermal shock can stress the roots.
The 5 signs of poor watering
Signs of overwatering (too much water)
This is the most common problem by far. An overwatered aloe vera shows the following symptoms:
- Soft, swollen leaves: they are waterlogged and lose their firmness. To the touch, they feel “spongy”.
- Translucent leaves: the colour changes from opaque green to pale, almost transparent green. The cells are saturated with water.
- Brown, soft leaf bases: a sign of rot. If the lower leaves become brown and mushy at the base, the roots are probably rotting too.
- Musty smell: lift the pot and smell underneath. An unpleasant odour means the roots are rotting in constantly damp potting mix.
- Mould on the potting mix: white or green patches on the surface are a sign of excessive moisture.
If your aloe vera has yellow leaves, other causes are possible. See our article on the causes and solutions when aloe vera turns yellow for a complete diagnosis.
What should you do? Stop watering immediately. If the potting mix is soaked, remove the plant from its pot, cut off rotten roots (brown and soft) with a disinfected knife, let the roots dry in the open air for 2–3 days, then repot in dry, well-drained potting mix.
Signs of underwatering (not enough water)
Paradoxically, an underwatered aloe vera can resemble one that has been overwatered. But the differences are noticeable:
- Thin leaves curled inwards: the plant draws on its water reserves and the leaves “empty out”.
- Dry, brittle leaf tips: the tips turn brown and become crisp.
- Potting mix completely detached from the pot: when the mix is so dry that it contracts and forms a gap between the root ball and the pot.
What should you do? A thorough soak using the bottom-watering method for 30 minutes will be enough to rehydrate the plant. Aloe vera recovers quickly from a short drought — it is one of its superpowers.
The crucial role of drainage
Watering is not just about the amount of water you pour. It also depends on the ability of the pot and potting mix to get rid of excess water. Perfect watering in a bad pot causes the same damage as overwatering.
The ideal pot
- Material: unglazed terracotta. Its porosity allows moisture to evaporate through the sides, reducing the risk of water stagnation. Plastic retains more moisture.
- Drainage hole: mandatory. A pot without a drainage hole is a death sentence for aloe vera.
- Size: not too large. An oversized pot holds too much water in areas where roots are not yet present. Choose a pot 2 to 3 cm wider than the root ball.
The ideal potting mix
Standard potting soil holds too much moisture for aloe vera. Instead, use:
- Special cactus and succulent potting mix: available from garden centres and already formulated for good drainage.
- Homemade mix: 2/3 universal potting soil + 1/3 perlite or coarse sand. It is economical and works very well.
- Extra drainage at the bottom of the pot: a 2–3 cm layer of clay pebbles or gravel at the bottom further improves drainage.
FAQ: the most common watering questions
“My aloe vera is outside and it rains often. What should I do?”
If your plant is outdoors and rainy periods continue, place it under cover, such as an awning or covered terrace, or bring it indoors temporarily. In the ground, make sure the soil drains well and that water does not collect around the plant.
“Should I mist the leaves?”
No. Aloe vera does not need high atmospheric humidity, unlike tropical plants. Misting the leaves can even create white marks from limescale deposits and encourage fungi. Just water the potting mix.
“I am going away for 3 weeks. Will my aloe vera survive?”
Most likely, yes. Water it well before leaving, place it somewhere bright but away from scorching direct sun, and it should cope. Aloe vera is a survival plant — three weeks without water in summer is well within its abilities. In winter, it can easily go a month without watering.
“My tap water is very hard. Is that a problem?”
Over time, limescale can build up in the potting mix and raise the soil pH, which aloe vera does not appreciate (it prefers slightly acidic to neutral soil, pH 6–7). If your water is very hard, use rainwater when possible, or let tap water stand for 24–48 hours. You can also add one drop of white vinegar per litre of water to acidify it slightly.
“My aloe vera is leaning. Is it related to watering?”
Possibly. An aloe vera that leans may indicate overwatering (weakened roots that no longer support the plant), but it can also mean insufficient light (the plant stretches towards the light source). Check both factors.
A simple watering calendar to follow
For those who like a visual reference, here is a seasonal summary:
| Season | Indicative frequency | Finger test | Amount |
|---|---|---|---|
| Spring | Every 10–14 days | Dry to 3–4 cm | Until water runs through the drainage hole |
| Summer | Every 7–10 days | Dry to 3–4 cm | Until water runs through the drainage hole |
| Autumn | Every 14–21 days | Dry to 4–5 cm | Moderate |
| Winter | Every 21–30 days | Dry to 5+ cm | Light |
Reminder: these frequencies are indicative. The finger test remains your best tool.
In summary
Watering aloe vera comes down to 3 fundamental principles:
- Less is better. It is always better to underwater than to overwater. Aloe vera forgives drought, not excess water.
- Test before watering. A finger pushed 3–4 cm into the potting mix is your best indicator. If it is still damp, wait.
- Drainage matters as much as watering. A terracotta pot, drainage hole, free-draining mix and an emptied saucer after every watering are essential.
Follow these three rules and your aloe vera will reward you with fleshy leaves, rich green colour and steady growth. For a complete guide to every aspect of care, see our page on aloe vera care.
Ces articles pourraient aussi vous plaire
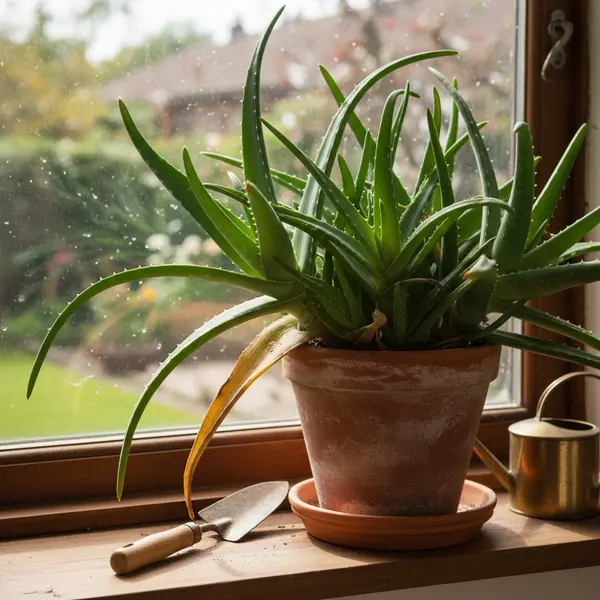 jardinage
 Aloe Vera qui Jaunit : Causes et Solutions pour Sauver Votre Plante
Votre aloe vera a les feuilles jaunes ? Découvrez les 7 causes possibles et les solutions concretes pour lui redonner sa belle couleur verte.
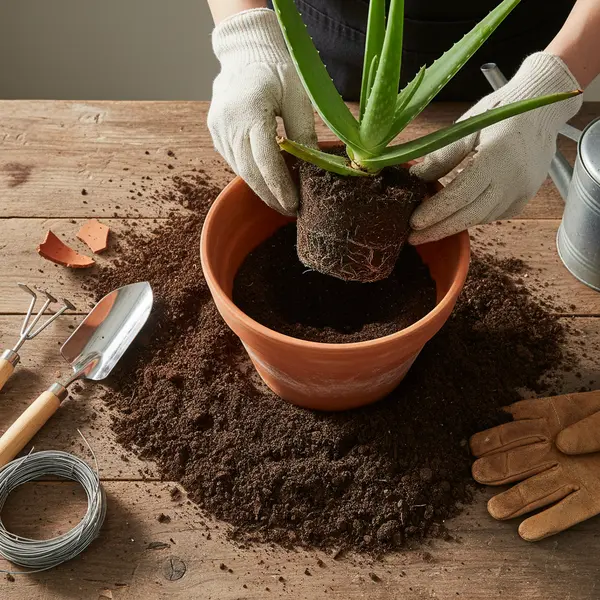 jardinage
 Quand et Comment Rempoter un Aloe Vera : Le Guide Complet
Apprenez quand et comment rempoter votre aloe vera etape par etape. Choix du pot, substrat ideal, erreurs a eviter et soins post-rempotage.
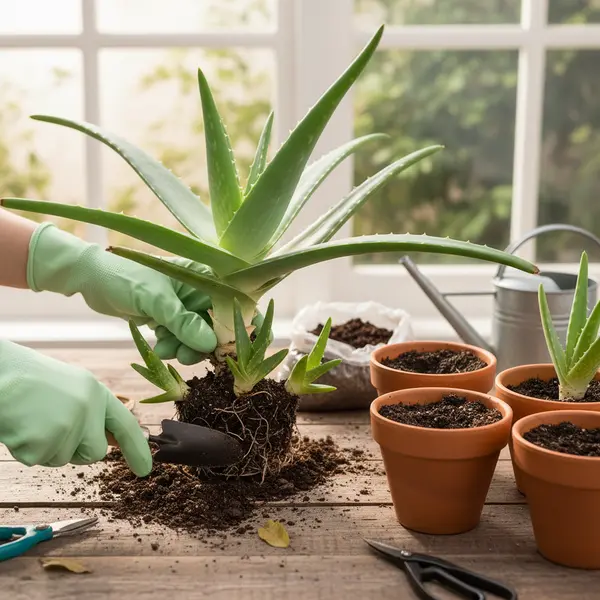 jardinage
 Comment Bouturer un Aloe Vera : Guide Simple et Efficace
Apprenez a bouturer un aloe vera pas a pas. Methode par rejets, par feuille, conseils et erreurs a eviter pour reussir a coup sur.
 entretien
 Aloe Vera en Extérieur : Cultiver au Jardin ou sur le Balcon
Cultivez votre aloe vera en extérieur avec succes. Balcon, terrasse ou jardin : emplacement, protection hiver et conseils pour chaque saison.
 entretien
 Aloe Vera d'Intérieur : Guide Complet pour une Plante en Pleine Santé
Tous les conseils pour reussir votre aloe vera en intérieur : emplacement, lumiere, temperature et erreurs a eviter pour une plante resplendissante.
Newsletter
Rejoignez notre communauté de passionnés
Restez informé
Recevez nos conseils aloe vera
Inscrivez-vous pour recevoir nos meilleurs articles et astuces sur l'aloe vera directement dans votre boîte mail.
Pas de spam. Désabonnement à tout moment.