How to Propagate Aloe Vera from Cuttings: A Simple, Effective Guide
Learn how to propagate aloe vera step by step. Offshoot and leaf methods, practical tips and mistakes to avoid for reliable results.
My first aloe vera cutting was a complete failure. I cut a beautiful, fleshy leaf, planted it in damp potting soil and proudly waited for it to grow. Three weeks later, it had moulded. What I did not know at the time was that leaf propagation is the most unpredictable method of all. There is a much better option.
If your aloe vera produces small offshoots at its base — those little plants that grow next to the mother plant — you have the most reliable method of propagating it. And even if you only have a leaf, there are techniques that can improve your chances.
Here is everything you need to know to propagate your aloe vera successfully, whether you are a beginner or an experienced gardener.
When should you propagate aloe vera?
The best time to propagate your aloe vera is between March and June, at the beginning of the growing season. The plant is emerging from its winter dormancy and all its energy is directed towards new growth: this is the ideal time for offshoots to root quickly.
That said, aloe vera is resilient. A cutting taken in summer or early autumn can take successfully, as long as you avoid the winter months when the plant is dormant.
A few reference points for choosing the right time:
- The room temperature is above 18 C
- The mother plant is healthy and producing offshoots
- You can see new leaves growing in the centre of the rosette
Method 1: Propagating from offshoots (the most reliable)
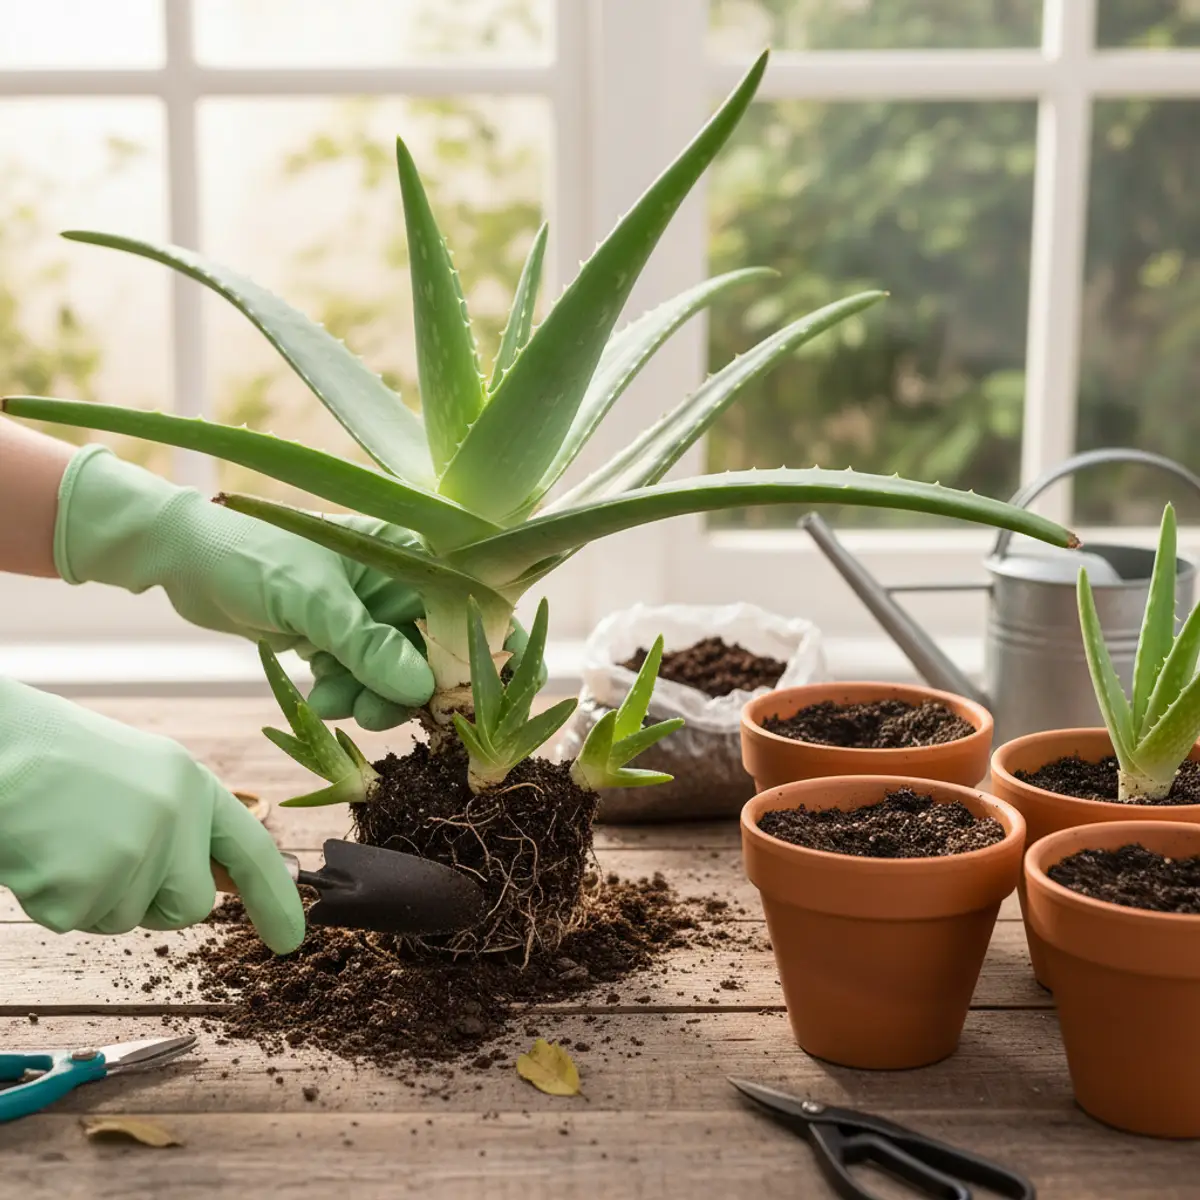
This is the technique I recommend to everyone. The success rate is above 90% when you follow a few simple rules. Offshoots, also called suckers or “pups”, are genetically identical mini-plants that grow naturally at the base of the mother plant.
What you need
- A clean, very sharp knife (or scalpel)
- 70% alcohol to disinfect the blade
- A terracotta pot with a drainage hole (10–12 cm diameter)
- Clay pebbles or gravel
- Special potting mix for cacti and succulents (or a homemade mix: 2/3 potting soil + 1/3 coarse sand)
- A spray bottle
Step-by-step
Step 1: Identify the right offshoot
Not every offshoot is ready to be separated. An offshoot that is too small will not have enough reserves to survive on its own. Look for one that meets these criteria:
- At least 4 to 5 well-formed leaves
- A minimum height of 8 to 10 cm
- If possible, a few small roots already visible at the base
Step 2: Remove the plant from its pot
Water the plant lightly two days before the operation so that the potting mix comes away easily. On the day, carefully turn the pot upside down while supporting the base of the plant, and loosen the root ball.
Gently brush the roots to see where the offshoot connects to the mother plant. It is often simpler than you might expect: the attachment point is usually a small “cord” of roots.
Step 3: Separate the offshoot
Disinfect your blade with 70% alcohol. Cut the connection between the offshoot and the mother plant with one clean motion. If the offshoot already has its own roots, cut the “bridge” connecting it to the mother plant. If the roots are tightly intertwined, gently loosen them by hand before cutting.
The secret: a clean, decisive movement is better than a hesitant tear. A clean cut heals much faster.
Step 4: Let the cut dry
This is the step many people skip, which is a shame. Leave the offshoot in the open air, in the shade, for 24 to 48 hours. The cut surface must form a thin, dry crust (a healing callus). Planting an offshoot while the wound is still damp risks rot.
Step 5: Prepare the pot
Place 2 to 3 cm of clay pebbles in the bottom of the pot to ensure excellent drainage. Then fill it with your well-draining potting mix. Press it down lightly.
Step 6: Plant the offshoot
Make a small hole in the centre of the pot. Insert the offshoot, burying the lower quarter (the base and the roots, if it has any). Gently firm the soil around it so that the offshoot stands upright.
Step 7: Wait before watering
It may seem counterintuitive, but do not water immediately. Wait 5 to 7 days for the cut roots to heal before the first watering. Then lightly moisten the potting mix without soaking it. A spray bottle is perfect for this first watering.
Care after propagation
During the first 3 to 4 weeks, your cutting needs specific conditions:
| Factor | Recommendation |
|---|---|
| Light | Bright, but no direct sun (risk of scorching a fragile plant) |
| Temperature | Ideally 18–25 C |
| Watering | Very moderate, only when the potting mix is completely dry |
| Fertiliser | None for the first two months |
| Location | Indoors, near an east- or west-facing window |
After 3 to 4 weeks, pull very gently on the base of the offshoot. If you feel resistance, congratulations: it has rooted. You can gradually care for it like a mature aloe vera.
Method 2: Propagating from a leaf (for the adventurous)
Let us be honest: this method has a success rate of only 20 to 30%. Aloe vera leaves are full of water (more than 95%), which makes them extremely prone to rotting before a root has had time to appear.
But if you have no offshoots and want to try your luck, here is how to maximise your chances.
The technique
-
Choose a mature leaf: take an outer, fleshy leaf from the base of the plant. Cut it cleanly at the stem with a disinfected blade.
-
Let it dry for a long time: place the leaf in a dry, airy spot for 7 to 10 days. Yes, it takes a while. The cut base must be completely dry and callused. This is essential to prevent mould.
-
Prepare a very well-draining medium: it should drain even better than the mix for offshoots. A mixture of 50% coarse sand and 50% perlite gives good results.
-
Plant it: insert the base of the leaf 2 to 3 cm into the medium, with the cut side down. You can dip the base in rooting hormone to improve your chances.
-
Mist without soaking: the medium should remain barely moist. Too much water is fatal at this stage.
-
Be patient: allow 4 to 8 weeks for roots to form. If the leaf stays firm and green, that is a good sign. If it turns brown and soft, it is over.
Why it works less well
Unlike many succulents, aloe vera does not naturally propagate from leaves. The leaf’s high internal moisture creates an environment where fungi and bacteria thrive. This is why professional nurseries use almost exclusively offshoot propagation or clump division.
The 7 most common mistakes (and how to avoid them)
Over the years, I have seen the same mistakes come up again and again. Here are the pitfalls to avoid at all costs:
1. Planting the offshoot immediately after cutting Always let the wound dry for 24 to 48 hours. This is the golden rule. A damp wound in damp potting soil is a guarantee of rot.
2. Using ordinary universal potting soil Universal potting soil holds too much water. Aloe vera needs a medium that dries quickly. Use cactus potting soil or add 30 to 40% coarse sand to your potting soil.
3. Watering too early and too often After planting, do not water for 5 to 7 days. Then moderate watering every two weeks is enough. When in doubt, it is better to underwater than overwater.
4. Exposing the cutting to direct sun A young cutting does not yet have the roots needed to compensate for the evaporation caused by direct sun. Keep it in indirect light for at least a month.
5. Choosing a pot without a drainage hole A pot without drainage is a death sentence for an aloe vera. Stagnant water at the bottom of the pot inevitably causes root rot.
6. Separating an offshoot that is too small An offshoot that is 2–3 cm tall does not have enough energy reserves to survive alone. Wait until it is at least 8 to 10 cm tall and has four or more leaves.
7. Using a dirty blade Fungi and bacteria love cut wounds. Always disinfect your knife or scalpel with 70% alcohol before each cut.
How long does it take for a cutting to take root?
The timing varies depending on the method and growing conditions:
| Method | First signs of recovery | Established plant |
|---|---|---|
| Offshoot with roots | 1–2 weeks | 4–6 weeks |
| Offshoot without roots | 2–4 weeks | 6–10 weeks |
| Leaf (if it works) | 4–8 weeks | 3–6 months |
Signs that a cutting has rooted:
- The plant no longer moves when you pull on it gently
- New leaves appear in the centre of the rosette
- The leaves remain firm and deep green
- The plant visibly starts to grow
What if the cutting does not take?
If your cutting shows signs of distress, all is not lost:
-
Soft but green leaves: this is probably too much water. Take the cutting out of the pot, let the roots dry for two days and replant it in a more well-draining medium.
-
The base is turning black: this is rot. Cut away the black section with a disinfected blade, working back to healthy tissue. Let it dry for three days and try planting again in fresh medium.
-
Yellowing leaves: the offshoot may not be getting enough light. Move it closer to a window, but keep it out of direct sun.
If the cutting is completely soft and translucent, unfortunately it is too late. You will have to start again with a new offshoot.
Propagate to share (or to use)
A healthy adult aloe vera can produce 3 to 6 offshoots per year. Rather than letting them crowd the mother plant, separate them and give them to people around you. It is an appreciated, inexpensive gift, and it is a plant that forgives beginner gardeners many mistakes.
And if you plan to use the gel from your aloe vera plants, having several plants in rotation means you never have to harvest too much from a single plant. An aloe vera needs to keep at least two thirds of its leaves to remain healthy.
For everything you need to know about caring for your aloe vera after propagation, see our complete guide. You will also find advice on watering and repotting, two essential topics for helping your new plant thrive.
Ces articles pourraient aussi vous plaire
 jardinage
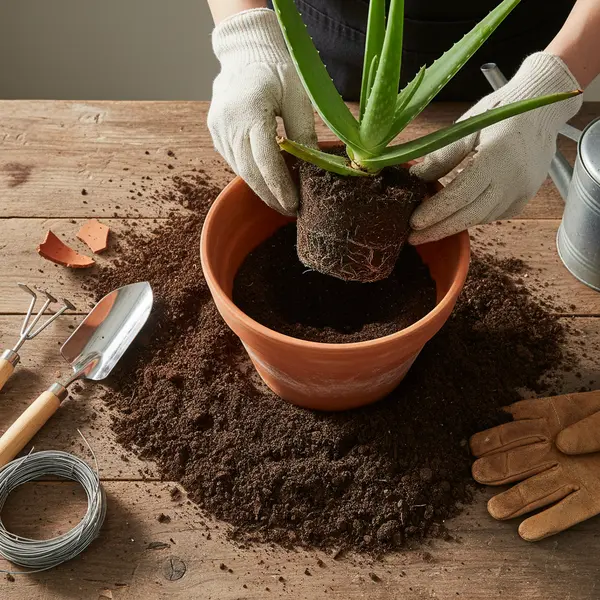
 Quand et Comment Rempoter un Aloe Vera : Le Guide Complet
Apprenez quand et comment rempoter votre aloe vera etape par etape. Choix du pot, substrat ideal, erreurs a eviter et soins post-rempotage.
 jardinage
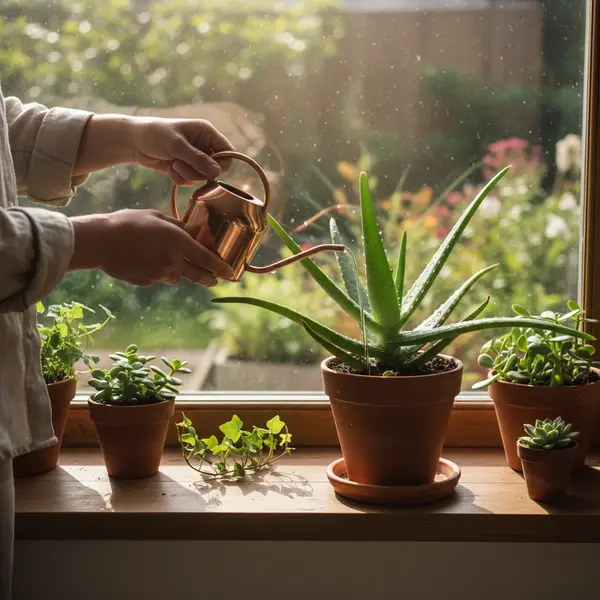
 Comment Arroser un Aloe Vera : Frequence et Conseils Pratiques
Quand et comment arroser votre aloe vera selon la saison. Frequence, quantite, signes de sur-arrosage et conseils pour eviter les erreurs.
 jardinage
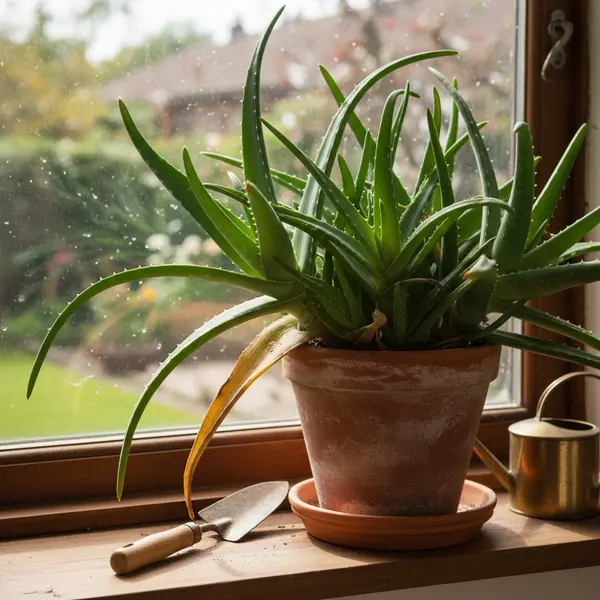
 Aloe Vera qui Jaunit : Causes et Solutions pour Sauver Votre Plante
Votre aloe vera a les feuilles jaunes ? Découvrez les 7 causes possibles et les solutions concretes pour lui redonner sa belle couleur verte.
Newsletter
Rejoignez notre communauté de passionnés
Restez informé
Recevez nos conseils aloe vera
Inscrivez-vous pour recevoir nos meilleurs articles et astuces sur l'aloe vera directement dans votre boîte mail.
Pas de spam. Désabonnement à tout moment.