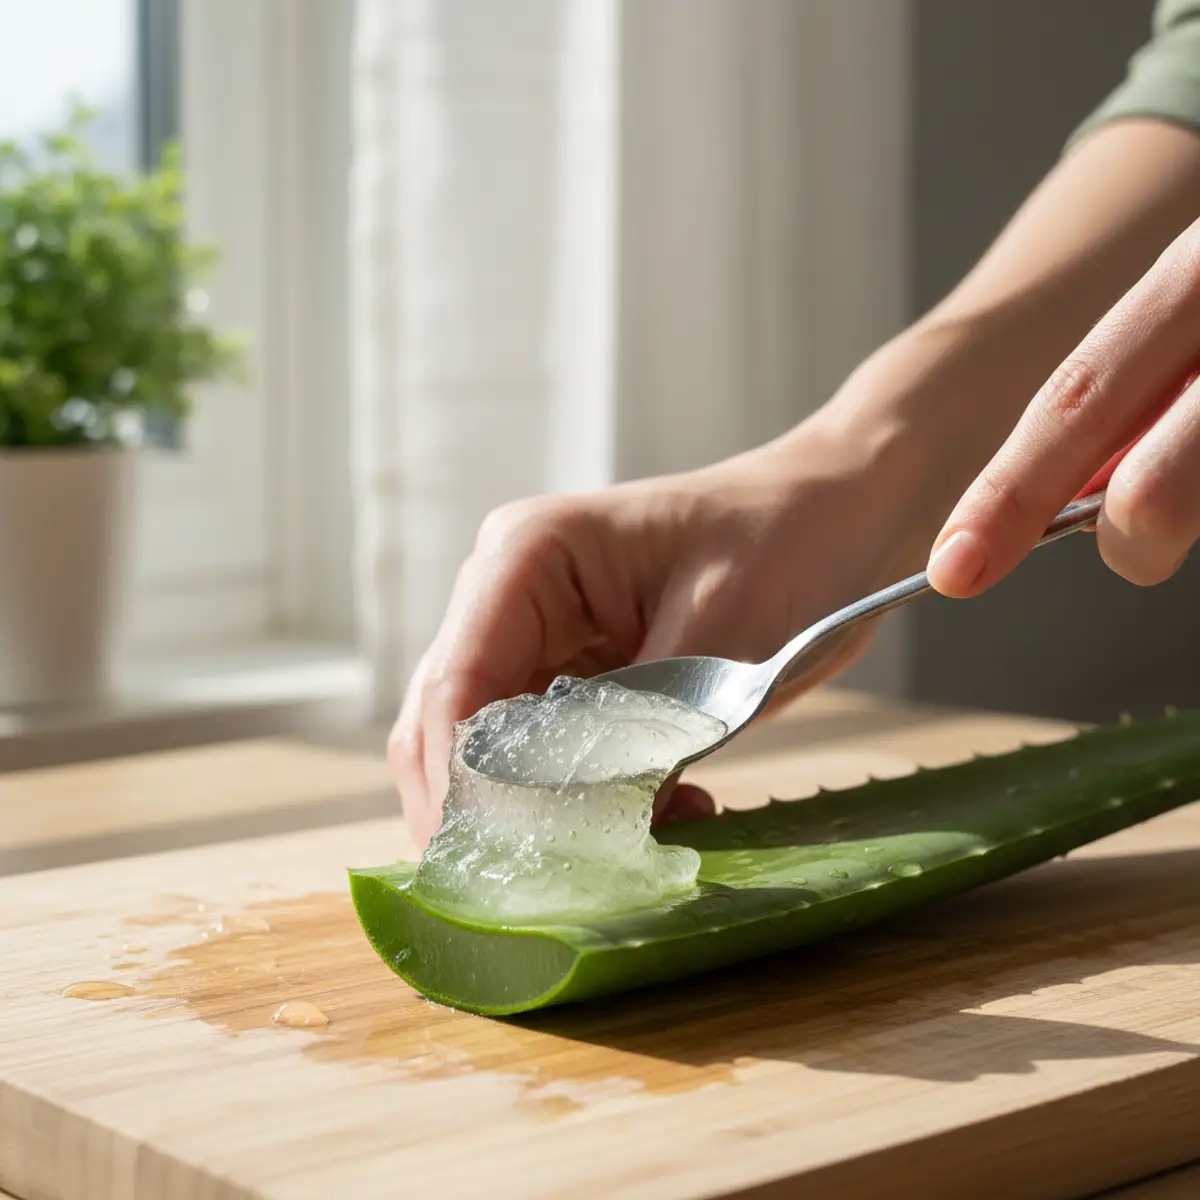
How to Extract Gel from an Aloe Vera Leaf
All the techniques for cleanly extracting aloe vera gel from a fresh leaf. Filleting, spoon extraction, professional tips and pitfalls to avoid.
You have a thick, deep-green aloe vera leaf in your hand and are wondering how to get that famous clear gel out without ruining everything? Good question. It is not enough to cut the leaf in half and scrape: between the irritating latex hidden beneath the skin and the gel going everywhere, extraction can quickly turn into a fiasco.
I have tested almost every method there is — from a kitchen knife to a vegetable peeler, including the ice-cream-scoop technique. Some work wonderfully; others are a monumental waste of time. Here is what really works.
Before you begin: an essential step
Before touching the gel, you need to remove the aloin. This bright yellow latex that flows between the green skin and the inner gel is a skin irritant and a powerful laxative. If you accidentally mix it into the gel, you will get a bitter, yellowish and potentially irritating product.
The method is simple:
- Cut the leaf at the base of the plant with a clean knife.
- Stand it upright in a glass, point facing down.
- Let it drain for 15 to 20 minutes — the yellow latex will flow out by itself.
- Rinse it thoroughly under cold water.
You will see that the amount of latex released can sometimes be surprising, especially from large leaves. That is normal, and precisely why you should not skip this step.
Want to go further and prepare a smooth, ready-to-use gel? Our article on how to make homemade aloe vera gel covers the rest of the process.
The 3 extraction techniques
Technique 1: Filleting with a knife (the cleanest)
This is the professionals’ method, the one that gives the purest gel with the least waste. It requires a little dexterity but is easy to learn.
Equipment: a thin, very sharp knife, a cutting board and a glass bowl.
How to do it:
- Lay the leaf flat on the board, rounded side facing up.
- With the knife held horizontally, slice off the top skin while following the curve of the leaf. Go slowly — the goal is to remove only the thin green layer without taking gel with it.
- You should see the block of translucent gel exposed, still resting on the bottom skin.
- Now slide the blade between the gel and the bottom skin, still holding it horizontally.
- You will have a clean “fillet” of gel that you can place in your bowl.
Pros of this method: little waste, clean gel and no residual aloin if the draining step was done properly.
Cons of this method: it requires a good knife and a little practice. The first few times, people tend to cut too deeply or not deeply enough.
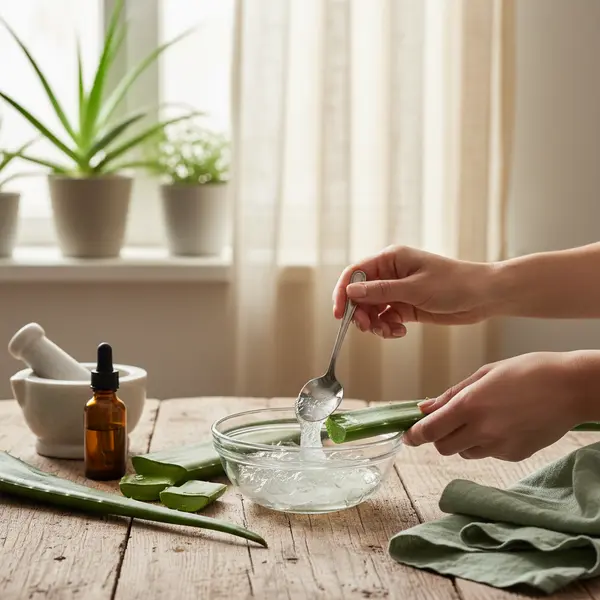
Technique 2: Scraping with a spoon (the simplest)
If you are a beginner, this is probably the most accessible method. No knife skills are needed, and the result is perfectly good.
Equipment: a knife (just to open the leaf), a tablespoon and a bowl.
How to do it:
- Cut the leaf into 5 to 8 cm sections — they are easier to handle than the whole leaf.
- For each section, place it on the board and slice the top open to expose the gel.
- With the edge of the spoon, scrape the gel from top to bottom, pressing moderately.
- Collect the gel in the bowl as you go.
Pros of this method: easy, quick and no need for precision.
Cons of this method: a little more gel remains on the skin (10–15% waste), and the collected gel may contain small pieces of green skin if you press too hard.
Tip: use the back of the spoon rather than the edge. The movement is smoother and the gel comes away in more even pieces.
Technique 3: Extraction by pressing (for large leaves)
This method is little known but surprisingly effective when you have a very thick, fleshy leaf.
How to do it:
- Cut the leaf into 10 cm sections.
- For each section, score the skin along the entire length of one side.
- “Open” the section like a book by pulling the two skin halves apart.
- The gel is exposed on both sides. Gently press the two skin halves towards each other: the gel comes out through the opening and falls into your bowl.
It is a bit like squeezing a giant tube of toothpaste. The result is impressive with large leaves.
Pros of this method: quick, little waste and fun.
Cons of this method: it works well only with thick leaves. With a small, thin leaf, the gel does not have enough “body” to come out under pressure.
Which method should you choose?
| Criterion | Filleting | Spoon | Pressing |
|---|---|---|---|
| Difficulty | Medium | Easy | Easy |
| Gel purity | Excellent | Good | Good |
| Speed | Medium | Fast | Fast |
| Waste | Low | Medium | Low |
| Ideal leaf size | Any size | Any size | Large leaves |
For cosmetic use or facial care, I recommend filleting: the gel is cleaner and contains no skin residue. For quick use (after-sun care, hair mask), the spoon method is more than enough.
Mistakes that ruin your extraction
Cutting the leaf too early
An aloe vera needs at least 3 years before its leaves contain an interesting amount of gel. Young nursery plants, with their small, thin leaves, will produce almost nothing. Be patient, or buy a mature leaf directly from an organic shop.
Forgetting to rinse between steps
Even after the latex has drained, traces of aloin often remain on the leaf’s surface. A quick rinse under cold water between each step prevents this latex from contaminating the gel. Keep a colander within reach.
Using a blunt knife
A knife that does not cut well crushes the gel cells instead of slicing them. The result is runny gel that loses its gelled texture. A sharp knife makes a clean cut that preserves the gel’s structure.
Working too slowly
Aloe vera gel oxidises when exposed to air. This is not serious, but if you take 45 minutes to extract the gel from a single leaf, it will start to brown around the edges. Work at a steady pace and, once extracted, transfer the gel quickly to a closed container.
How much gel do you get?
The yield depends on the plant’s maturity and the leaf’s size. As a general rule, gel makes up approximately 50 to 65% of the leaf’s total weight. The rest is green skin, latex and water.
For a medium-sized leaf (30–40 cm long), expect approximately 100 to 200 ml of gel. A large leaf from a mature plant can yield up to 400 ml.
If your plant produces leaves regularly, you can harvest 2 to 3 every two months without harming its growth. It is a small gel factory, after all. You still need to look after it properly — suitable watering and a good location make all the difference to the amount of gel produced.
What should you do with the gel once it is extracted?
Raw gel can be used immediately. You can apply it directly to the skin or hair, or mix it with other ingredients to create your own treatments.
A few direct uses:
- On the face: a thin layer as a moisturiser, in the evening before bed.
- On the hair: as a pre-shampoo mask, alone or mixed with coconut oil.
- On minor burns: an immediate soothing and cooling effect.
- In a smoothie: one tablespoon of gel in your morning drink (make sure you have removed the aloin properly).
For a smoother, ready-to-use gel, the next step is to blend it and package it correctly. Our complete guide to making homemade gel explains how to get a good result and keep it for up to 6 months.
To discover all the ways to use aloe vera gel every day, see our dedicated pillar page.
Can you eat the leaf’s skin?
This is a question I am asked regularly: should you throw away the green skin, or can you eat it too? The short answer is no, do not eat the skin. It contains most of the aloin and other compounds that may irritate the digestive system.
The skin can, however, be composted. It is excellent organic matter for a garden compost pile. If you have houseplants, you can also place the skins gel-side down on the soil — they act as a mild fertiliser. A small zero-waste gesture that neatly closes the loop.
In summary
Extracting aloe vera gel is not complicated, but it does require a little method. The three points that really matter are:
- Drain out the aloin first. Let the leaf drain, rinse it and cut off the ends.
- Choose your technique according to the leaf’s size and its intended use.
- Work cleanly and quickly to keep the gel fresh and pure.
Once you have mastered these steps, extraction becomes almost automatic. And believe me, there is nothing quite like using gel that you extracted yourself from your own plant.
Ces articles pourraient aussi vous plaire
 utilisation
 Comment Utiliser le Gel d'Aloe Vera : Guide Pratique Complet
Toutes les facons d'utiliser le gel d'aloe vera : visage, cheveux, brûlures, apres-rasage. Guide etape par etape avec dosages.
 utilisation
 Comment Faire du Gel d'Aloe Vera Maison : Tutoriel Pas a Pas
Apprenez a preparer votre gel d'aloe vera maison en quelques etapes. Conservation, astuces et erreurs a eviter pour un gel pur et efficace.
 utilisation
 Gel d'Aloe Vera : Avis, Retours d'Expérience et Conseils
Avis honnêtes sur le gel aloe vera : ce qui fonctionne vraiment, ce qui decoit, et nos conseils apres des annees d'utilisation quotidienne.
 utilisation
 Gel d'Aloe Vera Bio : Comment Choisir le Meilleur Produit
Guide complet pour choisir un gel aloe vera bio de qualité. Labels, composition, pieges a eviter et nos conseils pour trouver le meilleur produit.
 utilisation
 Meilleur Gel d'Aloe Vera : Comparatif et Guide d'Achat 2026
Quel est le meilleur gel d'aloe vera en 2026 ? Comparatif des criteres essentiels, conseils pour bien choisir et erreurs a eviter.
 utilisation
 Gel d'Aloe Vera en Pharmacie : Ce qu'il Faut Savoir
Faut-il acheter son gel aloe vera en pharmacie ? Avantages, inconvenients, prix et conseils pour bien choisir votre gel en officine.
Newsletter
Rejoignez notre communauté de passionnés
Restez informé
Recevez nos conseils aloe vera
Inscrivez-vous pour recevoir nos meilleurs articles et astuces sur l'aloe vera directement dans votre boîte mail.
Pas de spam. Désabonnement à tout moment.